

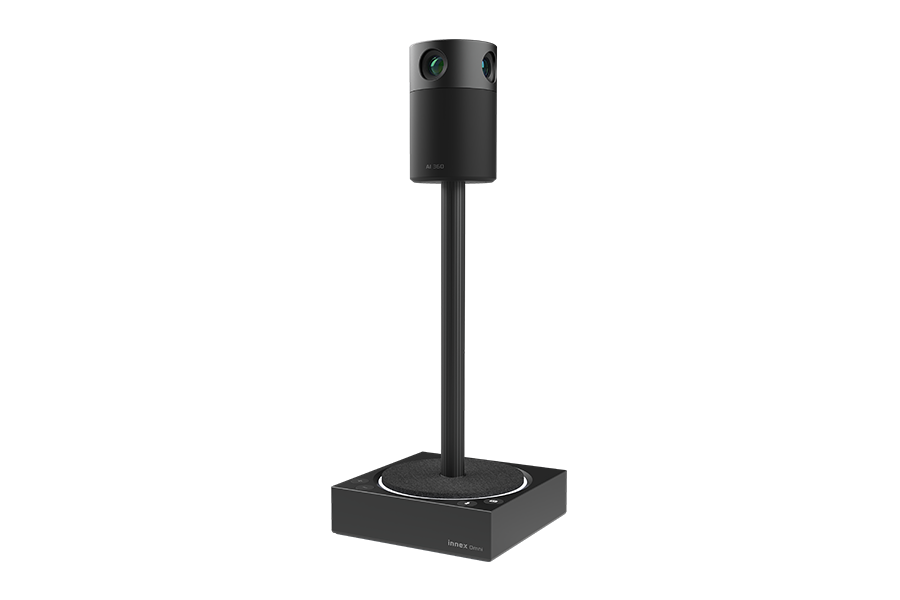
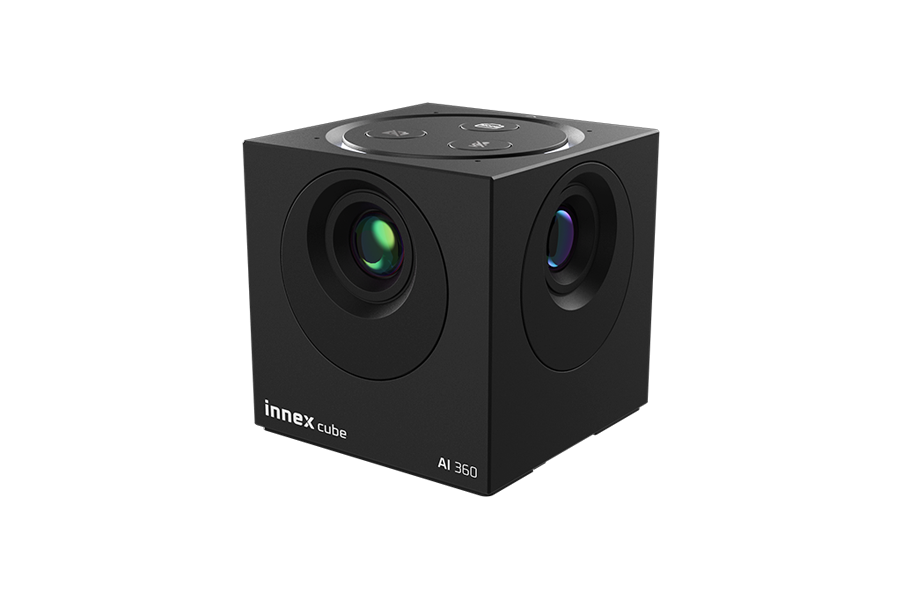
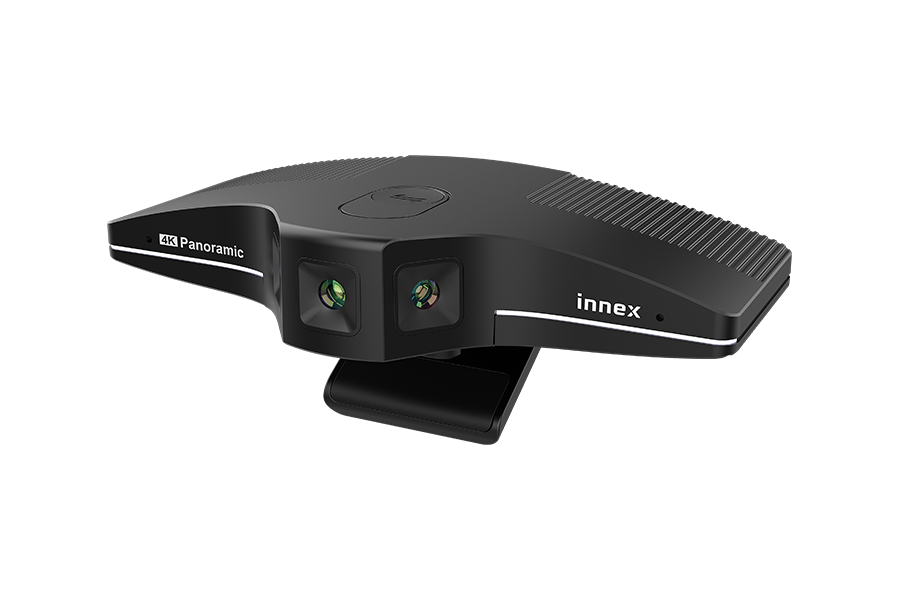
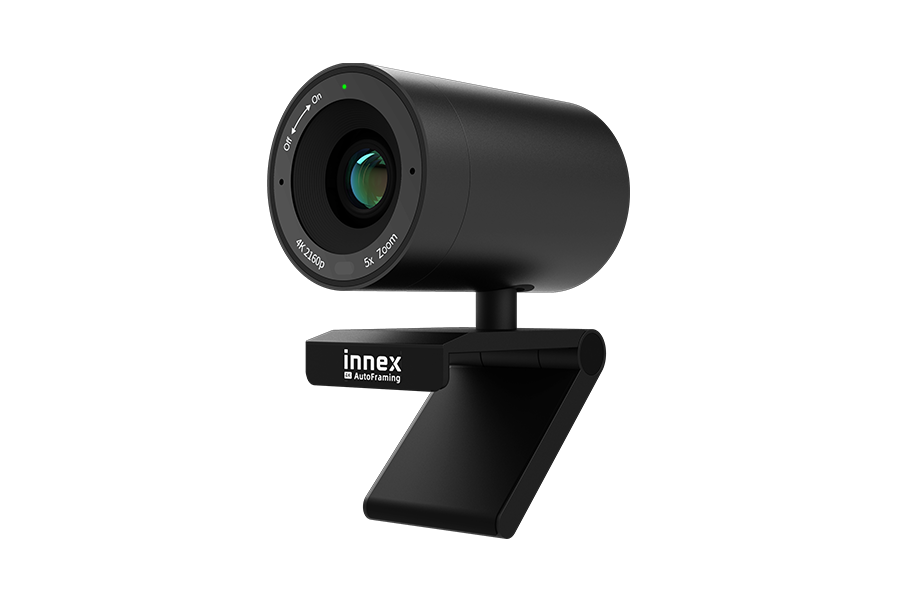
- First, please ensure your device is on the compatibility list.
- Power on Innex Connect Pro+ and connect it to the display.
- Then connect the external device to Innex Connect Pro+. Innex Connect Pro+ will automatically set the last-detected microphone and speaker as the system audio devices.
- If the device still cannot be used, contact your dealer.
- First, check whether your device is listed on the compatibility list.
- Make sure the signal cable is connected to the USB-A port on the back of Innex Connect Pro+, and confirm that the device is powered on if required.
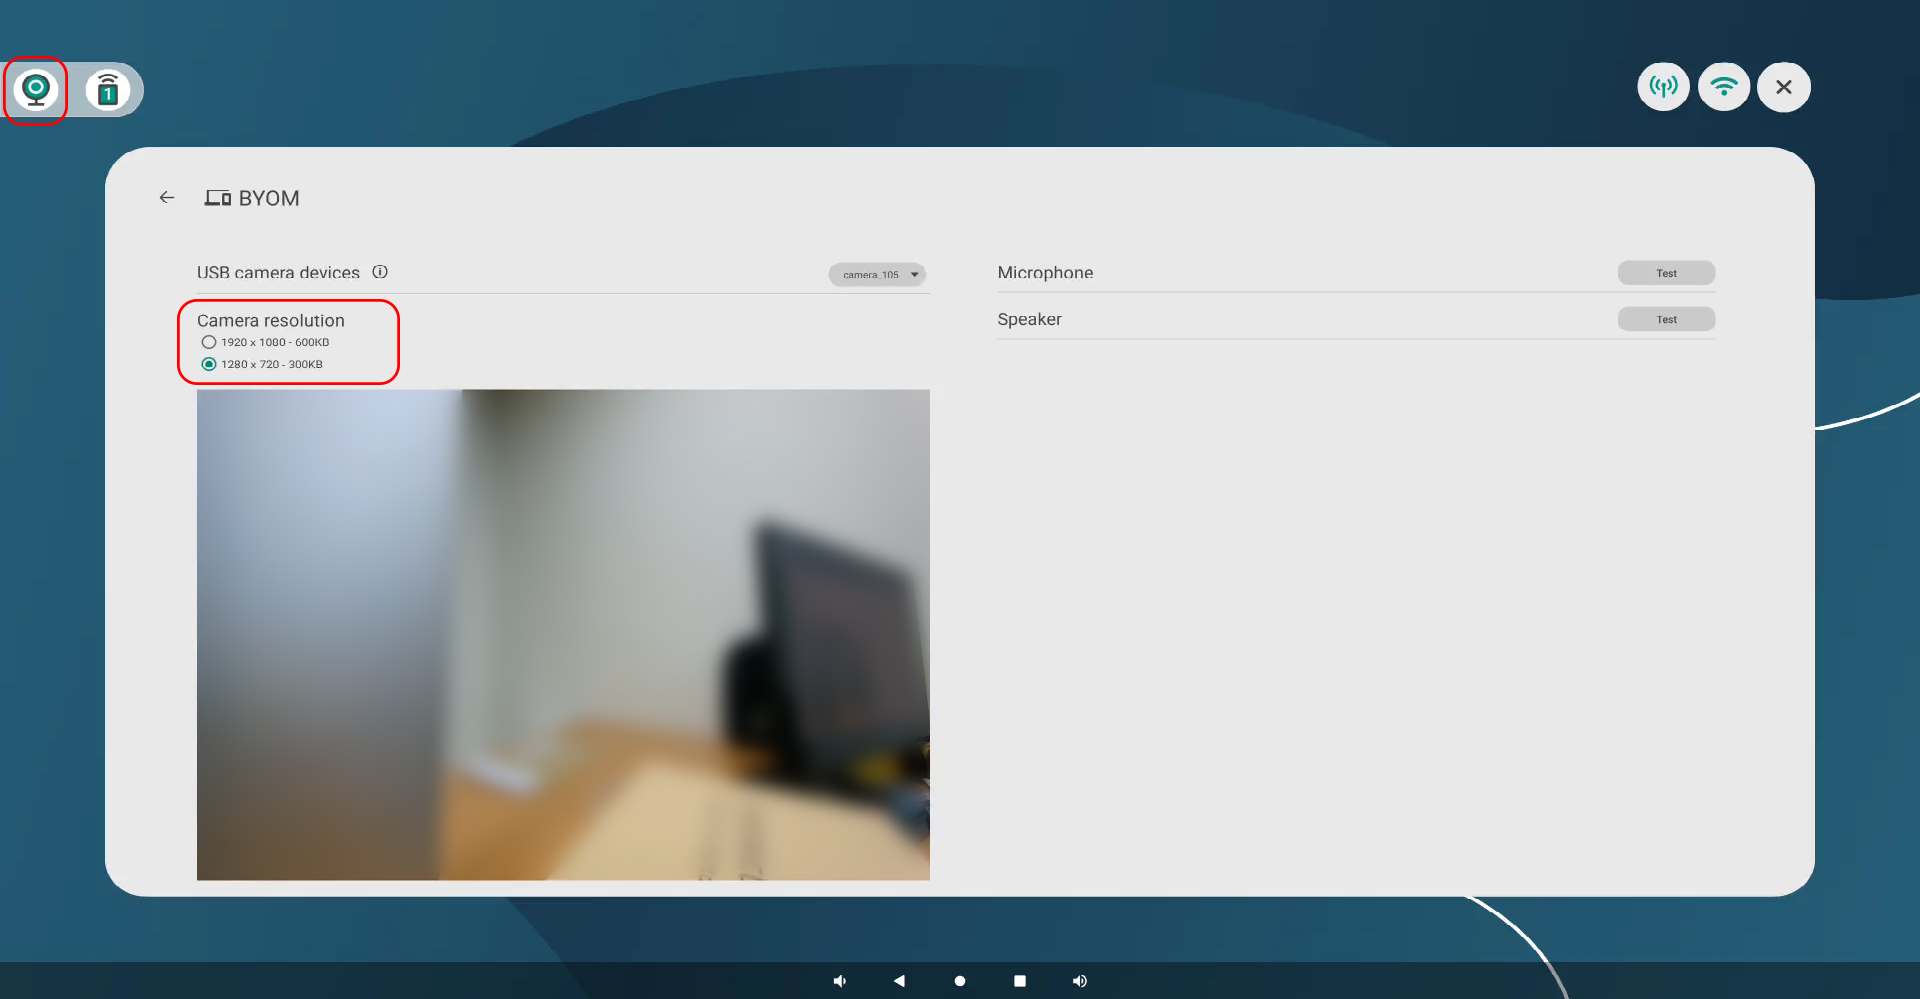
- Once connected properly, tap the camera icon in the top-left corner to open the preview.
- If multiple devices are connected, select the desired device from the drop-down menu.
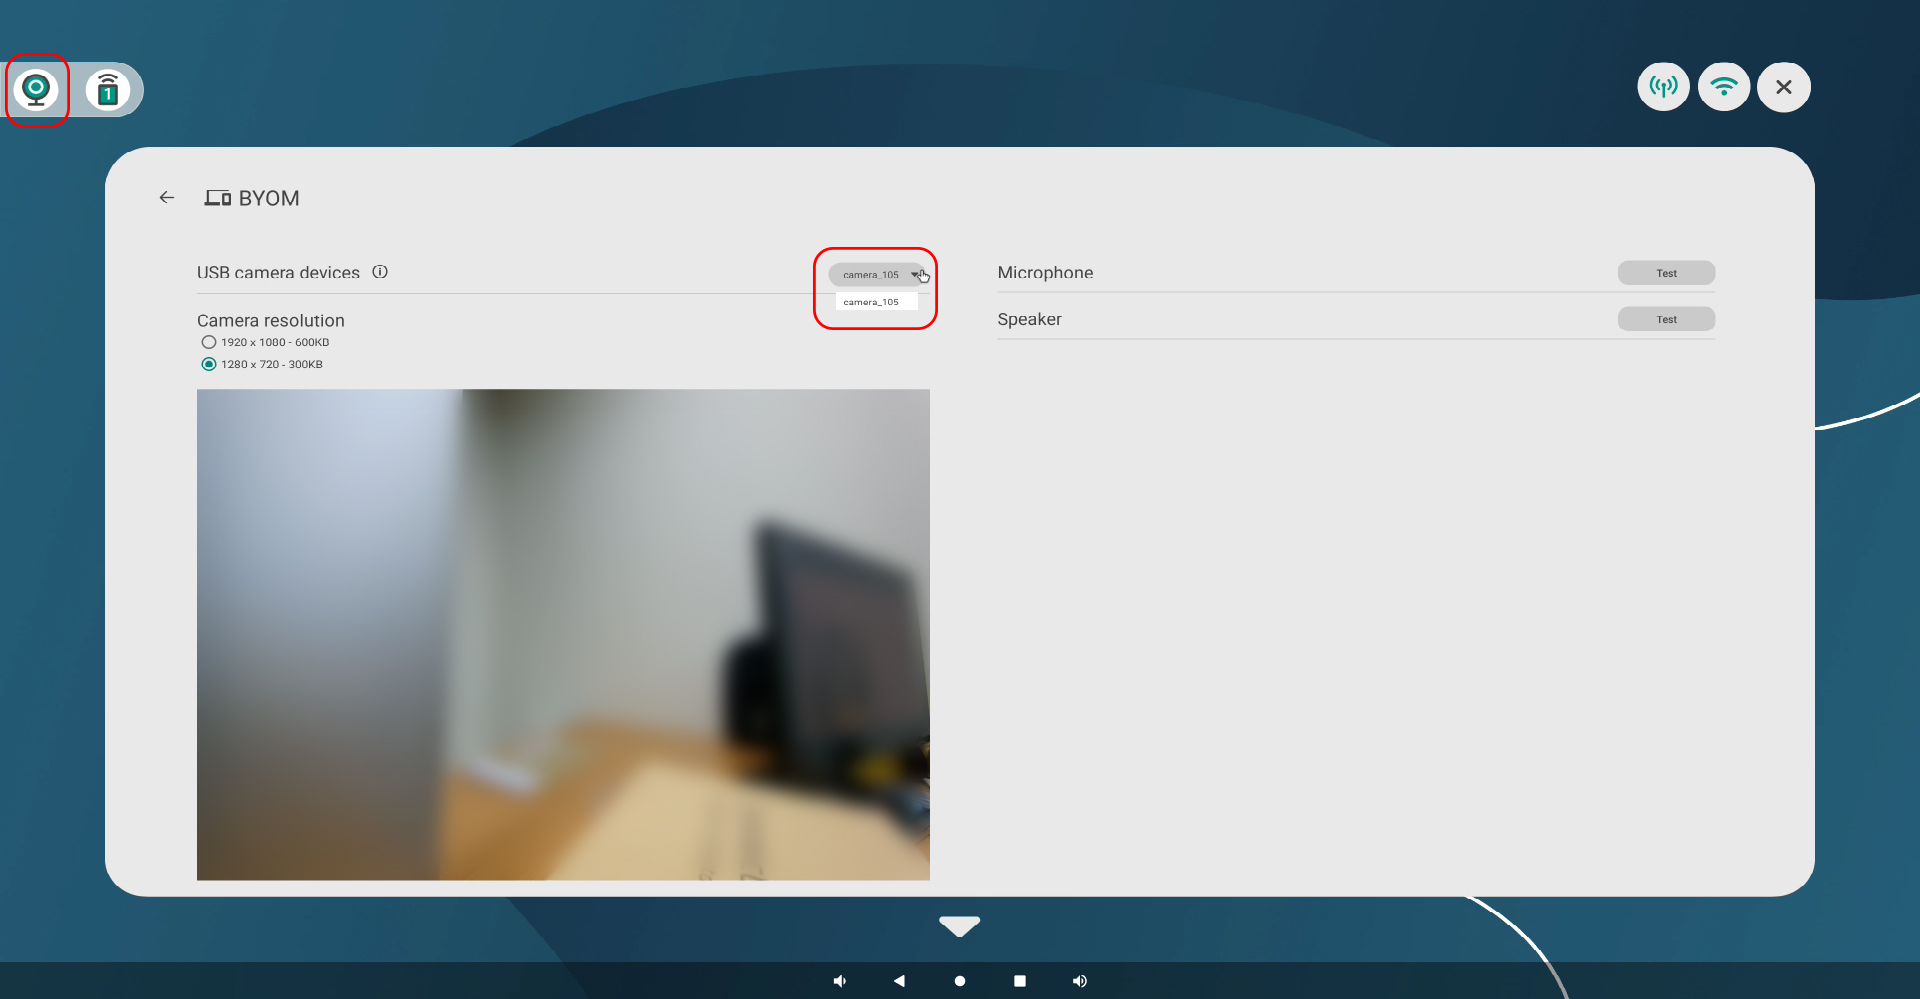
Each method provides different features depending on whether you need screen sharing or camera streaming functionality. Refer to the comparison table below to choose the method that best suits your needs.
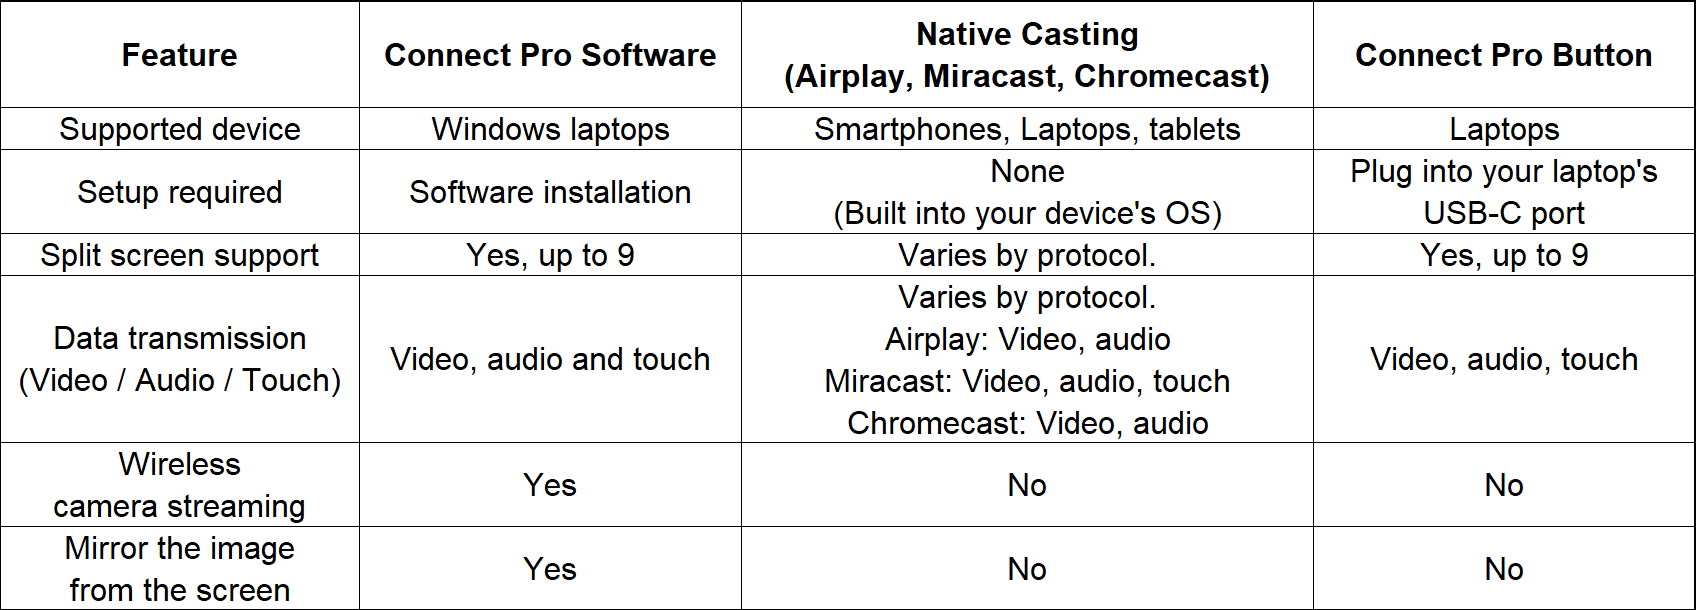
Tap the camera icon in the top-left corner to open the preview page, then select a lower resolution. If streaming at 1080p is laggy, the camera’s data throughput may be overloading the decoder. Switching to 720p may provide a smoother, lower-latency image.
* Data throughput may vary between cameras even at the same 1080p resolution, which can result in differences in display performance.
1. Make sure the video device is properly connected to Innex Connect Pro+.
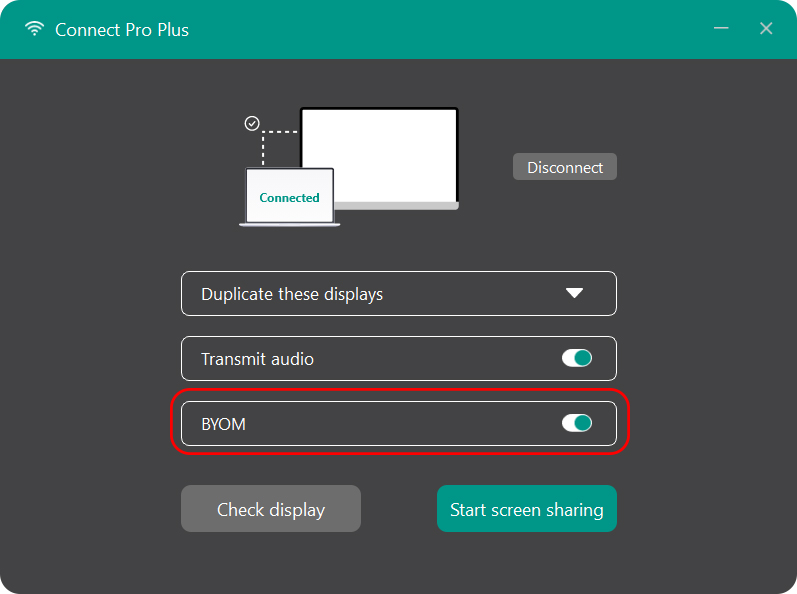
2. After selecting the target device for screen sharing, enable the BYOM option. (Disabled by default)
3. Once connected and screen sharing has started, open your video conferencing application and select “innexCam” as the camera and microphone, and “innexAudio” as the speaker.
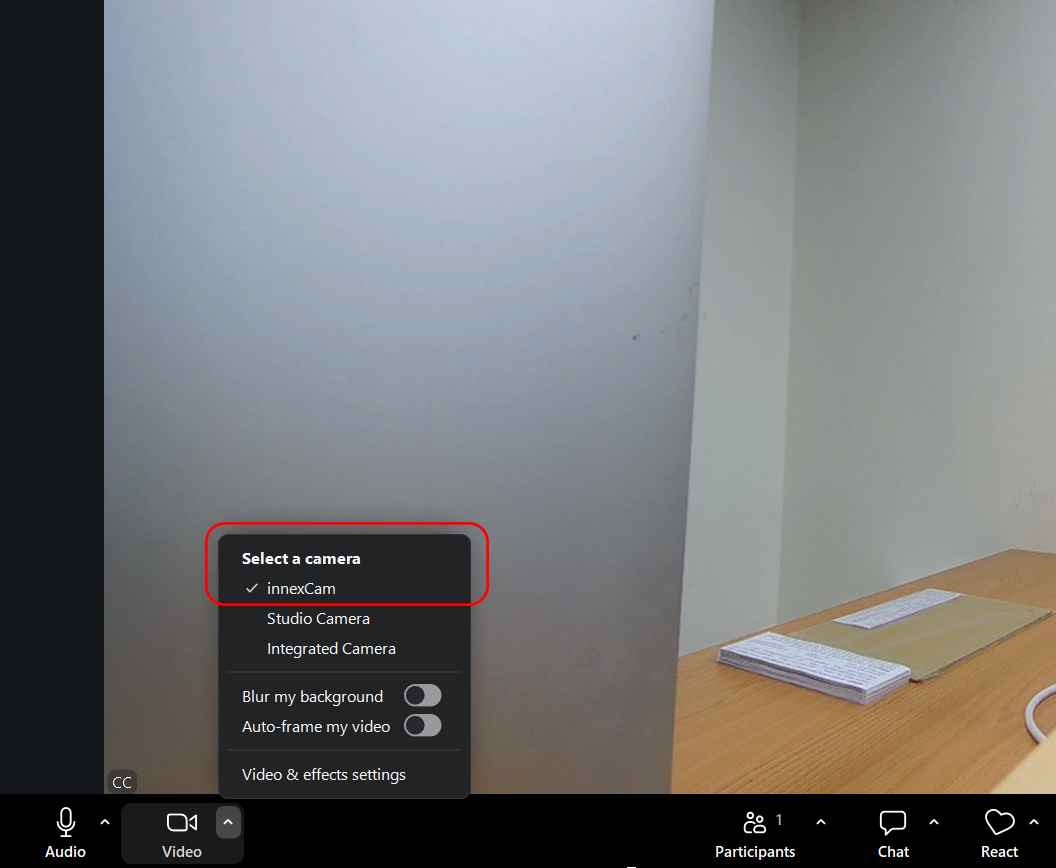
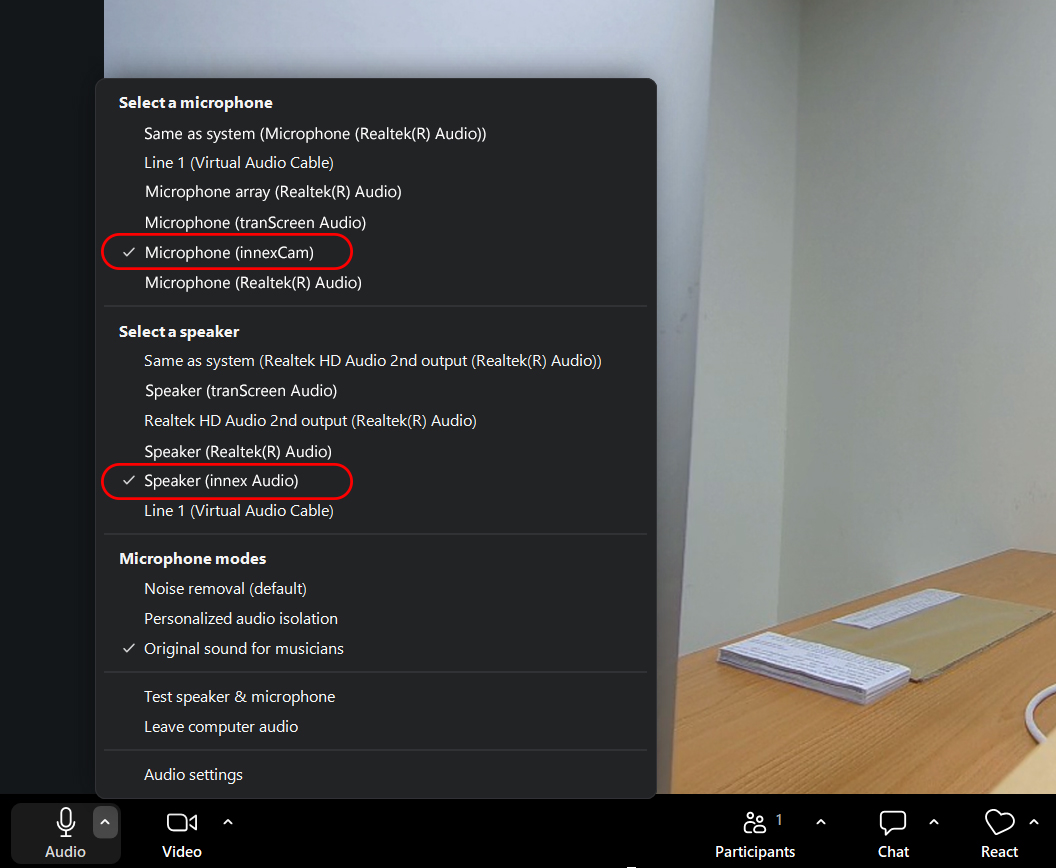
1. Make sure the video device is properly connected to Innex Connect Pro+.
2. After selecting the target device for screen sharing, enable the “BYOM” option. (Disabled by default)
3. Open Device Manager in Windows and check whether “innexCam” appears under Imaging Devices and “innexAudio” under Sound, video and game controllers. If either device is missing, the driver in Connect Pro software may not have been installed correctly. Uninstall and reinstall Connect Pro Software using administrator privileges.
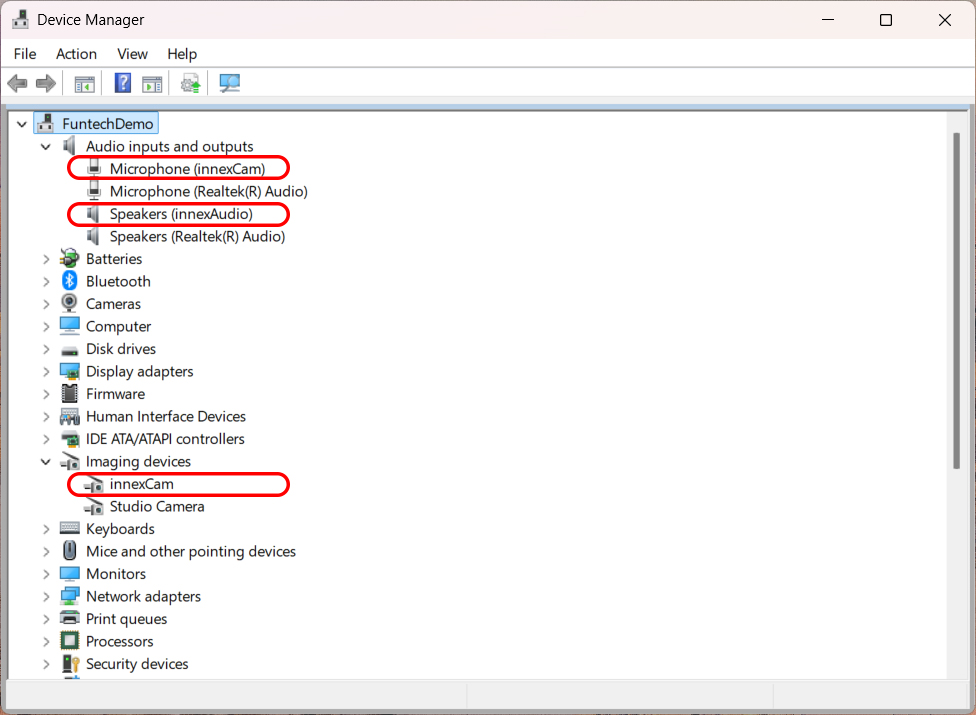
1. Make sure the video device is properly connected to Innex Connect Pro+.
2. After selecting the target device for screen sharing, enable the BYOM option. (Disabled by default)
3. A blue screen is commonly caused by an unstable or poor network connection. Please check your network status and ensure the connection is stable.